
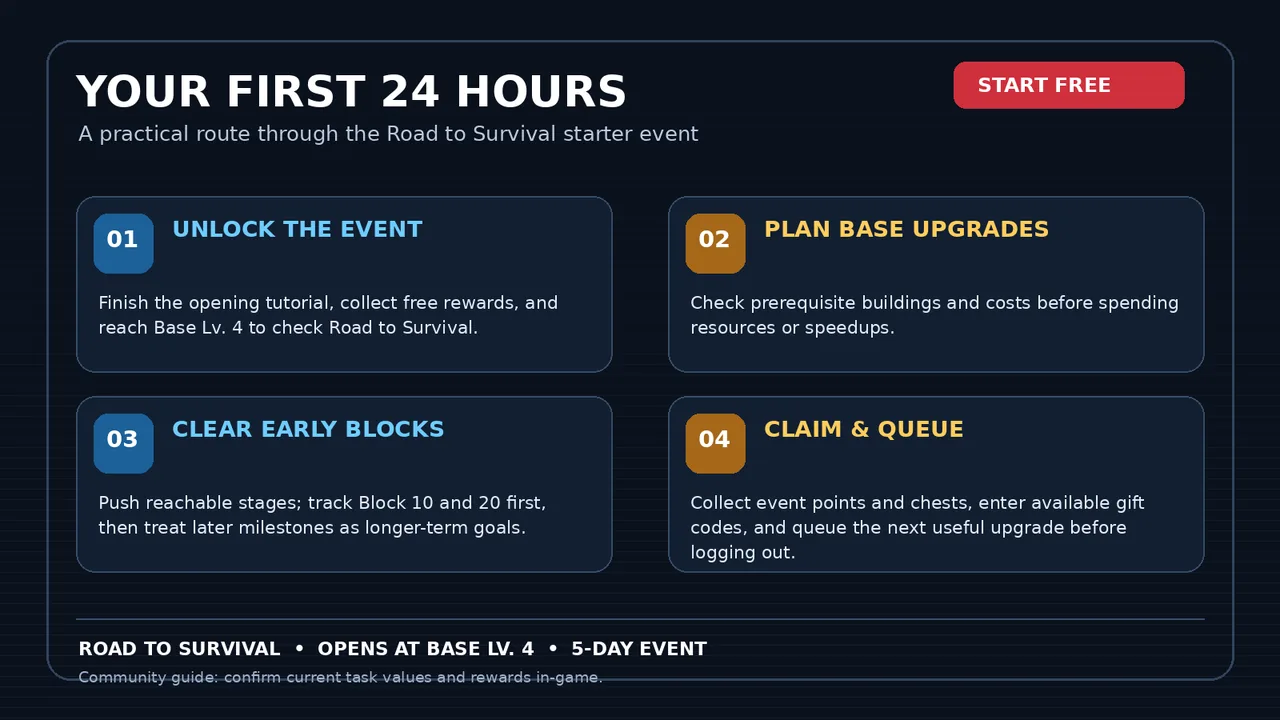
Your first day in Z Route: Redemption is about building momentum without wasting the resources you will need later. The best opening routine is simple: unlock the starter event, follow the Base upgrade path, push the early campaign blocks you can clear, and collect every reward you have already earned.

Watch the video: Z Route Redemption First 24 Hours: Don’t Miss This Free Event

Important: This is an independent fan guide, not an official game notice. Event rules, unlock levels, task values, and rewards can change between versions. Check the live event panel in your game before spending resources.
What should you focus on in your first 24 hours?
Prioritize these four things:
- Unlock Road to Survival. The event table currently published on ZRouteGuide lists it as a 7-day starter event that opens at Base Lv. 4, with its tasks unlocking over the first 5 days.
- Build toward the next useful Base milestone. Upgrade prerequisite buildings when needed instead of spending resources blindly.
- Complete reachable early blocks. Clear the stages that are within reach, collect rewards, and use the event task list to decide whether another push is worthwhile.
- Claim rewards and prepare your next queue. Collect finished tasks, check score-chest progress, and start a useful building, research, or training timer before you log out.
Step 1: Unlock and check Road to Survival
Open the event area as soon as it becomes available and read the rules before spending speedups. The current Road to Survival Event Guide lists the event as a 7-day starter event, with 75 scored tasks that unlock over the first 5 days. The published table currently shows each task scoring points once; repeating an already-completed task does not earn the same event points again.
The most important detail is that the score chests use your total points across the event, not a separate full score for every day. This means you should make steady progress throughout the event rather than panic if you cannot complete every milestone on Day 1.
The free rewards are the priority
The site’s current event notes describe VIP daily gifts as optional paid extras, not a requirement for the free score chests. Review the in-game event screen to distinguish free milestone rewards from any paid bundle or VIP offer.
Step 2: Use a smart Base-upgrade path
Your Base level gates progression, but rushing one building without checking its prerequisites can stall your account or consume resources you need elsewhere.
Before upgrading:
- Check the next Base level and any required buildings.
- Gather the required resources before starting a long timer.
- Use speedups when they secure a meaningful milestone or finish a timer you need—not just because a speedup is available.
- Avoid spending all your resources on optional upgrades while a useful Base requirement is still blocking progress.
Use the Building Upgrade Calculator to estimate upgrade costs, time, power, and prerequisite resources. Its totals are community-maintained estimates, so treat them as planning guidance and verify the final requirement in-game.
Treat higher-level targets as milestones, not a Day 1 obligation
The current Road to Survival table lists Base milestones including Lv. 3, 6, 10, 14, and 17. These are event targets to work toward; you do not need to force every target within the first 24 hours. Follow the prerequisites available to your account and keep making efficient progress.
Step 3: Push early campaign blocks efficiently
Early block clears can support progress while providing resources and other rewards. The current event table lists campaign targets at Block No. 10, 20, 31, 62, and 107. Start with the next reachable checkpoint rather than repeatedly attempting a stage that your squad cannot yet clear.
A practical approach:
- Try the next campaign stage and note where your squad starts to struggle.
- Improve your main team or collect available rewards before trying again.
- Claim the rewards from any cleared block and check whether an event task was completed.
- Stop pushing temporarily if the next stage requires a large power jump; return after upgrades or hero improvements.
Do not treat Block 62 or 107 as mandatory first-day goals. They are later milestones in the published task list and may require more account progression.
Step 4: Collect free rewards and check gift codes
Before spending premium currency, look for rewards you can claim without paying. Depending on your current account and version, check the event panel, login rewards, missions, mailbox, and any free daily rewards available to you.
You can also check the site’s Z Route gift codes page. Codes can expire or change, so use the page’s current status and redeem the code exactly as written. Do not assume a code is still active because it appeared in an older video or guide.
Step 5: Upgrade your heroes without spreading resources too thin
It is usually more efficient for a new account to develop a reliable main team than to spend every hero resource across the entire roster. Review your available heroes, focus on the squad you use most, and make upgrades when they help you clear content or meet a useful milestone.
The Hero Calculator can help estimate Hero EXP, fragments, and Skill Books for a planned upgrade. As with building data, confirm the numbers and requirements in-game because community tables may not perfectly match the current version.
A practical first-day timeline
| When | Priority | What to do |
|---|---|---|
| First session | Unlock and claim | Finish the opening tutorial, claim available rewards, reach Base Lv. 4 if the account can do so, and open Road to Survival. |
| Early progression | Build and clear | Check Base prerequisites, start essential upgrades, and clear reachable campaign blocks. |
| Mid-session | Review event points | Reopen the event panel, claim completed task rewards, and see which nearby milestone is worth pursuing next. |
| Before logging out | Keep progress running | Collect completed rewards, check codes, then queue a useful building, research, or training timer if available. |
| Day 2 onward | Continue steadily | Recheck newly available event tasks and work toward cumulative score chests across the full event. |
Use this as a flexible routine rather than a guaranteed speedrun. Upgrade timers, available missions, and event availability can vary by account and game version.
How the Road to Survival score chests work
The current event guide lists five cumulative score-chest thresholds:
| Chest | Cumulative event points required |
|---|---|
| Chest 1 | 50 |
| Chest 2 | 100 |
| Chest 3 | 190 |
| Chest 4 | 380 |
| Chest 5 | 650 |
The current community table also lists Nora Shards among these chest rewards. Treat the exact shard amounts as version-sensitive and confirm the reward panel in-game. The key strategy is to work through multiple task categories across the whole event; do not rely on only one kind of task.
For the latest task list and notes, use the full Road to Survival Event Guide.
Common first-day mistakes to avoid
- Ignoring the event until later. Check the event rules when it unlocks so you understand the task categories and cumulative score.
- Spending speedups without a goal. Save them for useful upgrade timing or a milestone that matters to your progression.
- Trying to clear every block immediately. Push reachable stages, then strengthen your main squad when progress stalls.
- Upgrading too many heroes at once. Concentrate resources on your primary squad before investing widely.
- Forgetting to claim rewards. Reopen the event and mission panels after completing tasks.
- Assuming old codes or rewards are still valid. Recheck current status and confirm rewards in-game.
- Confusing paid extras with free chests. Review each reward row and its requirements before purchasing anything.
First 24 hours checklist
- ☐ Finish the opening tutorial and claim the rewards available to your account.
- ☐ Reach Base Lv. 4 and open Road to Survival, when available.
- ☐ Review event rules and the five cumulative score-chest thresholds.
- ☐ Check Base prerequisites before committing resources.
- ☐ Clear reachable early blocks and claim the rewards.
- ☐ Check current gift codes.
- ☐ Focus Hero EXP and upgrade materials on the main squad.
- ☐ Claim completed task rewards and check score progress.
- ☐ Queue a useful upgrade before logging out.
Frequently asked questions
What level unlocks Road to Survival?
The current event guide on ZRouteGuide lists Base Lv. 4. Check your in-game event panel in case a later update changes the unlock requirement.
Is Road to Survival a one-day event?
The current site table describes it as a 7-day starter event, with its tasks unlocking over the first 5 days. The first 24 hours are your opening window, not the entire event duration.
Do I need to buy VIP gifts to get the free score chests?
The current site notes say the VIP daily gifts are extra paid rewards and are not required for the free chests. Verify the exact reward labels in-game.
Should I use all my speedups on Day 1?
No. Use them deliberately when they help you complete a useful requirement or reach a meaningful milestone. Keep the remaining speedups for future progression and event needs.
What should I do if I cannot reach the next Base level or block?
Upgrade the required buildings, improve your main squad, claim outstanding rewards, and return later. A sensible upgrade path is better than wasting resources on repeated failed attempts.
More Z Route: Redemption tools and guides
- Road to Survival Event Guide
- All Events
- Building Upgrade Calculator
- Hero Calculator
- Gift Codes
- More Video Guides
Final tip: Use your first day to unlock the event, understand its cumulative scoring, improve your Base efficiently, and claim everything you have already earned. You do not need to finish every high-level target immediately—consistent progress across the full event is the safer plan.
Fan-made strategy content for Z Route: Redemption. Not affiliated with or endorsed by the game publisher. Event requirements and data may change; verify time-sensitive details in-game.
Comments
No comments yet. Be the first.